


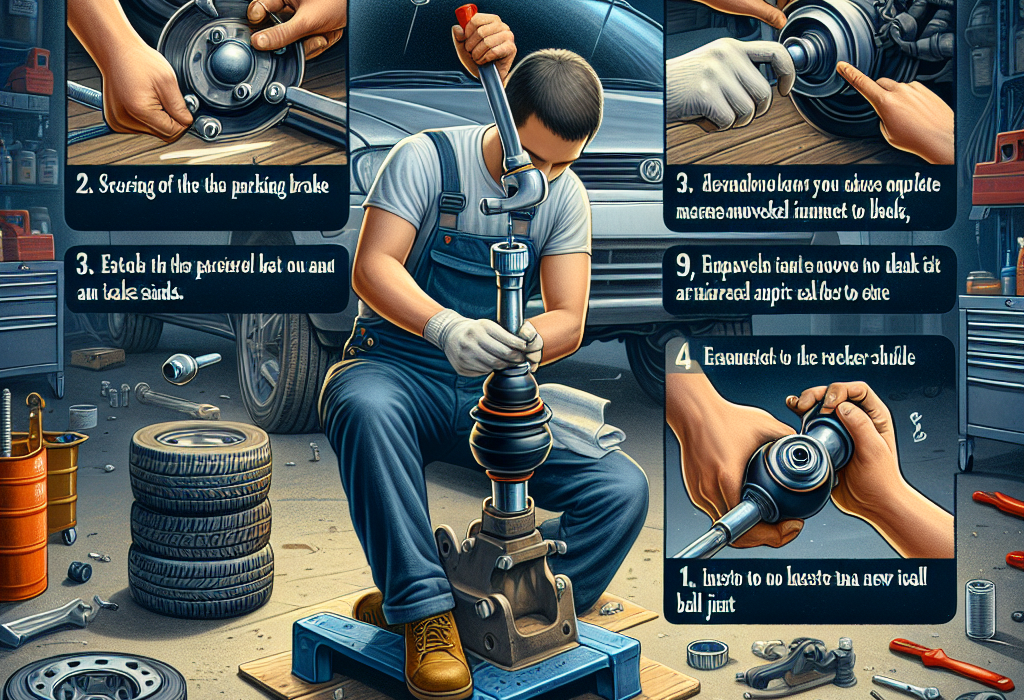
Ball joint is an important element of a car’s suspension that ensures maneuverability and control of the vehicle. When knocking starts in the front of the car while driving over bumps, a worn ball joint is often the culprit. Ball joint replacement may seem like a challenging task, but with the right tools and step-by-step instructions, even a beginner car enthusiast can successfully handle this task. Replacing the ball joint by yourself is a real opportunity to save on service costs and gain valuable experience in maintaining your own car. In this article, we will examine in detail the process of how to replace a ball joint on your own, from preparing the necessary tools to final work inspection.
Necessary Tools and Materials for Ball Joint Replacement
Before starting how to change a ball joint, it’s important to prepare all necessary tools and materials. This will allow you to complete the work without unnecessary delays and complications:
- Set of wrenches (open-end and box-end)
- Special ball joint puller (can be rented from an auto parts store if you don’t have your own)
- Hammer (preferably with a rubber head)
- WD-40 or other penetrating lubricant
- Jack and jack stands for safely lifting the car
- New ball joint (recommended to buy original or from trusted manufacturers)
- Gloves for hand protection
- Flashlight (for better visibility when working under the car)
- Wire brush for cleaning mounting points
Purchasing a quality ball joint ensures safety and long-term operation. Before installing the ball joint, check its completeness and absence of visible defects. Also, pay attention to the presence of lubricant in the new part – quality ball joints are already lubricated at the factory.
Step-by-Step Process of Removing the Old Ball Joint
After preparing all tools, you can proceed directly to the dismantling process. Here’s how to properly change the ball joint step by step:
- Park the vehicle on a level horizontal surface and engage the handbrake.
- Use the jack to lift the wheel that needs ball joint replacement and place a safety stand under the car for security.
- Remove the wheel by loosening and unscrewing the mounting bolts.
- Clean the ball joint mounting points from dirt and rust using a wire brush.
- Apply penetrating lubricant to the joints and give it a few minutes to penetrate the threads and facilitate dismantling.
- Using appropriate wrenches, unscrew the nut that secures the ball joint to the suspension arm.
- Using a special puller, separate the ball joint from the steering knuckle. It’s important to position the puller correctly to avoid damaging parts.
- If the ball joint is integrated into the suspension arm, you may need to remove the entire arm to replace the joint in a workshop or using a special press.
When removing the old ball joint, pay attention to the condition of adjacent suspension parts. Often, a worn ball joint indicates the need to check and possibly replace other system components, such as bushings or sway bar. This will help prevent repeated repairs in the future.
For an in-depth understanding of car maintenance, you might be interested in: How to press a ball joint into a control arm – step-by-step guide
Proper Preparation and Installation of a New Ball Joint
After successfully removing the old part, you can proceed with installing the new ball joint. This stage is no less important than the previous one, as the safety of your further driving depends on the correct installation.
- Thoroughly clean the mounting location of the new ball joint from dirt and rust residue
- Check the new part – the pin should move smoothly without sticking
- Install the new ball joint in its mounting position, strictly following the correct orientation
- Tighten the mounting bolts with force according to manufacturer recommendations
- Install the protective boot and secure it with clamps
Pay special attention to the nut tightening torque – insufficient force can lead to loosening during movement, while excessive force can damage the thread. If you don’t have a torque wrench, follow this rule: tighten until securely fixed, but without going overboard.
| Vehicle Type | Recommended Tightening Torque (Nm) | Replacement Time (hours) |
|---|---|---|
| Compact Cars | 45-60 | 1-1.5 |
| Mid-size Sedans | 70-90 | 1.5-2 |
| Crossovers and SUVs | 90-120 | 2-3 |
Common Mistakes and Safety Tips When Replacing Ball Joints
When replacing ball joints independently, many car enthusiasts make typical mistakes. Knowing these points will help you avoid problems and do the job right the first time.
- Neglecting protective gloves – sharp edges of parts can cause serious cuts
- Saving on new parts quality – a cheap ball joint can fail quickly
- Absence of safety stands when working under a lifted vehicle
- Incorrect boot installation leading to water and dirt penetration
- Ignoring the need for wheel alignment adjustment after replacement
Remember that safety should come first! Never work under a vehicle supported only by a jack – always use reliable stands. Also, don’t try to save money on parts quality – the ball joint directly affects vehicle handling, especially during emergency braking or maneuvering.
Conclusion
DIY ball joint replacement is a completely manageable task for a car owner with basic tool handling skills. Following the described instructions and safety tips, you’ll not only save money on service costs but also gain valuable experience in maintaining your own vehicle.
After completing the work, be sure to check all connections and perform a test drive at low speed, carefully listening to the suspension operation. If you have any doubts about the quality of work performed, it’s better to consult professionals – after all, it’s about your safety and that of other road users.
Regular inspection of ball joints during maintenance will help detect wear at an early stage and prevent serious breakdowns in the future. Remember: prevention is always cheaper and safer than repair after an accident!