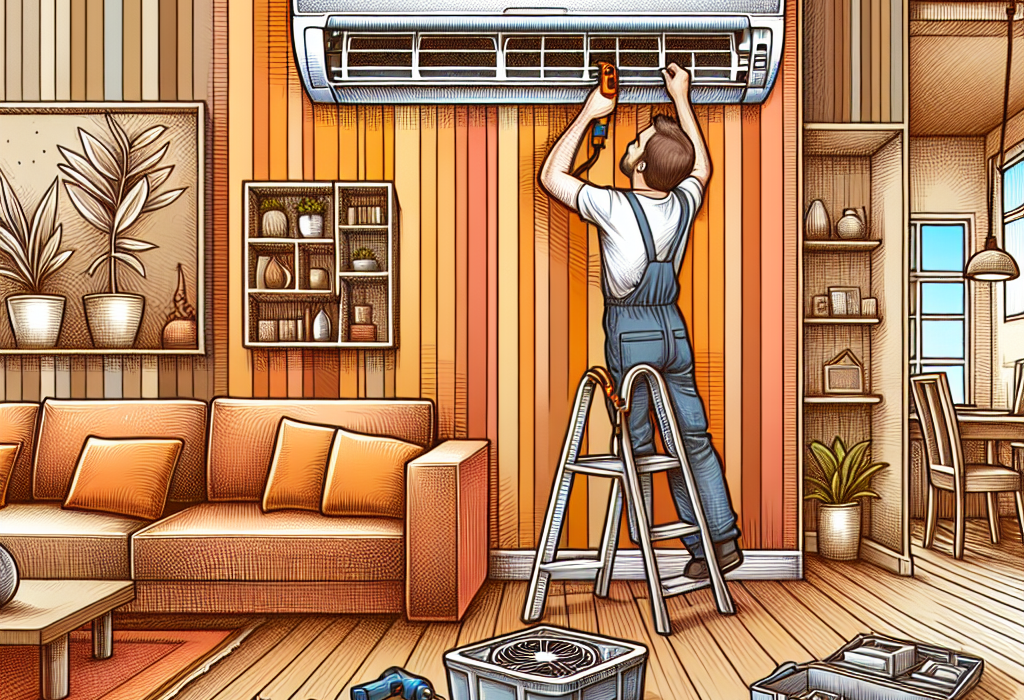
Air conditioner removal may seem like a challenging task, but with the right tools and knowledge, the process of how to remove the indoor air conditioning unit becomes quite manageable for DIY execution. Regardless of the reason – whether it’s scheduled maintenance, repair, or complete device replacement – understanding the correct sequence of actions will help avoid equipment damage and unnecessary costs for calling specialists. In this article, we will look at detailed instructions that will help you safely and effectively remove the indoor unit of your air conditioner. Following our recommendations, you can confidently perform the work of how to remove an air conditioner from the wall without unnecessary problems.
Preparation for Indoor Air Conditioning Unit Removal
Before starting the process of how to remove an air conditioner, proper preparation is necessary. First, disconnect the air conditioner from the power supply – this is critical for your safety. Find the circuit breaker on the electrical panel responsible for the air conditioner and switch it to the “off” position.
The second preparation step is collecting condensate from the indoor unit. If you’re removing the air conditioner after use, there may be water remaining. Prepare a container or towels to collect liquid residue and prevent leakage onto the floor or walls.
It’s also important to clear the space around the air conditioner. Remove all furniture and objects that might interfere with the removal process. Spread polyethylene film or old newspapers on the floor under the indoor unit to protect the surface from possible scratches or dirt.
Finally, if the air conditioner operates on freon, it needs to be collected before removal. This task is better left to professionals, as freon leakage is harmful to the environment and can cause health problems. A technician will collect the refrigerant in a special cylinder for further use or disposal.
Tools and Materials Needed for Removal
For successful completion of how to remove the indoor air conditioning unit, you’ll need a specific set of tools and materials. Having everything necessary prepared in advance will make the removal process much simpler and faster.
Essential tools to have on hand:
• Phillips and flat screwdrivers of various sizes – for unscrewing fasteners and opening covers
• Adjustable wrench or set of wrenches – for disconnecting pipelines
• Hex keys – often needed for mounting plate fasteners
• Pliers and wire cutters – for working with wires and cables
• Level – for checking correct unit positioning during re-installation
• Drill – if you need to drill out fasteners
Materials to prepare:
• Cloth or paper towels – for collecting condensate
• Polyethylene film or old newspapers – for floor protection
• Electrical tape – for insulating electrical connections
• Pipe plugs – to prevent dust and moisture from entering the system
• Adhesive tape – for securing small parts
• Container for screws and small parts – to avoid losing anything
Additionally, if you plan to re-install, it’s worth purchasing new insulation materials for pipelines in advance. This will ensure better system efficiency after installation. Remember that quality tools contribute to a safe and effective process of how to remove an air conditioner from the wall, so don’t try to save money on their preparation.
Want to learn more about air conditioning maintenance? Check out our related article: How to know when to clean your air conditioner
Step-by-step instructions for indoor unit dismantling
When all preparatory stages are completed and tools are gathered, you can proceed directly to the process of how to remove the indoor air conditioning unit. Follow the clear sequence of actions to avoid equipment damage and ensure work safety.
Main dismantling steps:
- Remove the front panel of the indoor unit by pulling on the special protrusions on the sides.
- Remove the air filters – they are usually located under the front panel.
- Unscrew the protective cover that shields electronic components and connections.
- Disconnect electrical cables, remembering or photographing their arrangement.
- Disconnect the drain hose, placing a container for water remains.
- Unscrew the freon tube connections with a special wrench.
- Carefully remove the indoor unit from the mounting plate by lifting it up.
It’s important to understand the specifics of your air conditioner model. The table below shows typical differences in the dismantling process for common system types:
| Air conditioner type | Dismantling features | Complexity (1-5) |
|---|---|---|
| Split system | Standard process described above | 3 |
| Inverter air conditioner | Extra attention to electronic components | 4 |
| Multi-split | More complex piping system | 5 |
| Mobile air conditioner | Simpler dismantling without freon connections | 1 |
Remember that when removing the air conditioner from the mounting plate, its weight can be significant, so it’s better to perform this step with an assistant to avoid equipment damage or injuries.
Safety tips and damage prevention during work
Air conditioner dismantling is a process that requires not only technical knowledge but also attention to safety issues. Following simple but important rules will help you successfully complete the task of how to remove an air conditioner from the wall without risks to health and equipment.
The most important safety rules include:
- Never work with the air conditioner under voltage – always disconnect power supply.
- Use protective gloves when working with sharp edges of the housing or fasteners.
- Ensure that the ladder or platform you’re working from is stable and safe.
- When working in pairs, clearly coordinate actions, especially when removing the heavy unit.
- Be particularly careful with freon tubes – they may contain refrigerant under pressure.
To prevent equipment damage, pay attention to the following points. First, handle electronic components carefully – static electricity can damage the boards. Second, unscrew connections carefully, without excessive force, to avoid thread damage. Third, when storing the removed unit for a long time, cover all pipe openings and electrical connections with plugs or film.
If you’re not confident in your abilities or encounter unexpected difficulties, it’s better to stop and consult a specialist. Sometimes trying to save on professional help can lead to higher costs for repairing damaged equipment.
Conclusion
The process of how to remove the indoor air conditioning unit is accessible for DIY implementation if you follow all recommendations and safety rules. Proper preparation, having necessary tools, and understanding the sequence of steps will help you successfully handle this task without professional help.
However, it’s important to realistically assess your capabilities and skills. If you have doubts or face serious difficulties, don’t hesitate to seek help from qualified specialists. Proper dismantling will ensure equipment functionality preservation and possibility of its further use during reinstallation.
Following the advice from this article, you can safely and effectively solve the issue of how to remove an air conditioner from the wall, save time and money, and gain valuable experience in maintaining home appliances by yourself.