


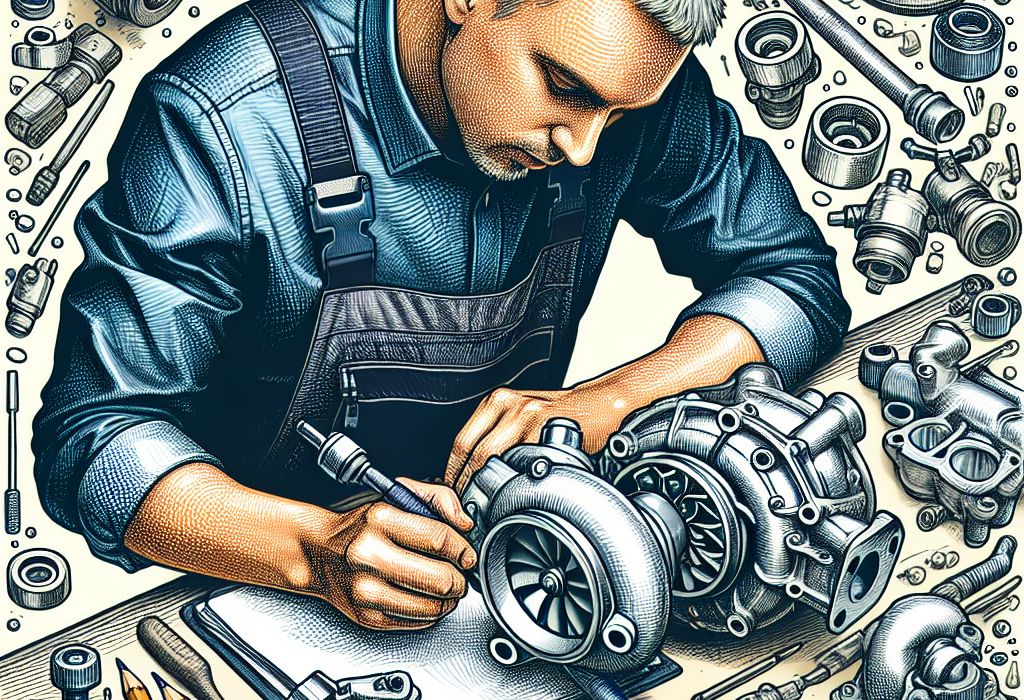
When a car engine begins to lose power and characteristic blue smoke appears from the exhaust pipe, this may indicate turbo problems. A turbocharger is a complex system with a turbo cartridge at its core, which is responsible for increasing engine power. In many cases, you don’t need to replace the entire turbo immediately – it’s enough to perform DIY turbo repair, focusing on cartridge restoration. In this article, we’ll look at key problems with turbo cartridges and examine how to properly diagnose malfunctions before proceeding with DIY turbo cartridge replacement.
Common Turbo Cartridge Problems and Their Consequences
The turbo cartridge is the heart of the entire turbo system, consisting of a shaft, impellers (rotor), and bearings. Over time, this part experiences significant wear, leading to various problems:
• Impeller blade damage – occurs due to foreign object intrusion or prolonged use. You’ll notice uneven turbo operation, whistling sounds, and reduced thrust.
• Bearing wear – one of the most common defects. Signs include rumbling from the engine compartment, especially during acceleration, oil smoke, and increased oil consumption.
• System contamination – deposit buildup damages moving parts and can lead to cartridge shaft seizure. This is felt as sudden power loss during acceleration.
If you notice any of these problems, you should immediately start DIY turbo repair to avoid more serious engine damage. Ignoring symptoms can lead to complete failure of not only the turbo but the entire engine.
Turbo Cartridge Fault Diagnosis Stages
Before proceeding with DIY turbo cartridge replacement, you need to properly diagnose the problem. Here’s a simple step-by-step action plan:
1. Visual inspection – remove the turbo and carefully examine the cartridge for visible damage: cracks, bent blades, friction marks.
2. Shaft play check – grab the shaft and try to move it in different directions. Normal play should not exceed 0.1 mm. If the shaft moves more – this indicates worn bearings.
3. Shaft rotation – turn the shaft by hand. It should rotate smoothly, without binding or foreign sounds. Any irregularities or rotation difficulties signal problems.
4. Balance check – even slight imbalance can cause severe vibration at high speeds. This diagnostic stage is better performed with special equipment.
5. Pressure testing – if possible, test the cartridge under air pressure to detect possible leaks or other seal problems.
Proper diagnosis is half the success in DIY turbo repair. It will help you determine whether complete DIY turbo cartridge replacement is needed, or restoration of individual components is sufficient.
Looking for more automotive insights? Check out our article on Causes of engine overheating and methods of elimination. Understanding engine maintenance is crucial for every car owner!
Technical Aspects of Turbocharger Cartridge Repair and Restoration
When diagnostics reveal problems, it’s time to proceed with the repair itself. DIY turbocharger repair is quite meticulous work, but with the right tools and patience, you can handle it.
For successful repair, you’ll need:
- Set of special wrenches and screwdrivers
- Torque wrench for controlling tightening force
- Clean workspace and containers for small parts
- Cleaning agents (acetone-free solvents)
- New seals and turbocharger lubricant
The cartridge repair process can be divided into several important stages. First, perform complete disassembly, carefully marking all parts for correct reassembly. Clean all components from carbon deposits and residue. If impeller blade damage is detected, they can often be restored through careful straightening, but with serious deformations, it’s better to perform a DIY turbocharger cartridge replacement.
When bearings are worn, replace them with new original parts. Saving on bearing quality can lead to quick repeated failure of the entire turbocharger.
| Cartridge Part | Typical Problems | Repair Methods | Approximate Service Life After Repair |
|---|---|---|---|
| Turbine shaft | Wear, bending | Replacement (non-repairable) | 30-50 thousand km |
| Impeller | Blade damage, imbalance | Balancing, replacement for significant damage | 40-60 thousand km |
| Bearings | Wear, destruction | Replacement only | 25-45 thousand km |
| Seals | Loss of elasticity, cracks | Replace with new ones | As needed |
After replacing faulty parts, cartridge balancing is necessary. This stage is critically important, as even the smallest imbalance at rotation speeds of 100-150 thousand RPM will lead to rapid part destruction.
Tips for Turbocharger Cartridge Maintenance and Care
It’s much cheaper to maintain the turbocharger cartridge in working condition than to later engage in DIY turbocharger repair. Following simple preventive rules, you can significantly extend the turbocharger’s service life.
Here are the most important preventive measures:
- Use only quality oil and change it on time (every 7-10 thousand km)
- Don’t shut off the engine immediately after intensive driving – let it idle for 1-2 minutes
- Avoid sharp accelerations with a cold engine
- Regularly check the air filter and replace when needed
- Use quality fuel to avoid carbon deposit formation
Special attention should be paid to the lubrication system. Insufficient lubrication is the cause of most turbocharger failures. If you notice your vehicle consuming more oil than usual, this might be the first sign of turbocharger problems.
Periodically check the condition of pipes and hoses connecting the turbocharger to the engine and intercooler. Any leaks or damage can lead to boost pressure drop and reduced efficiency of the entire system.
Don’t ignore minor malfunctions – these are the ones that later grow into serious problems requiring complete DIY turbocharger cartridge replacement.
Conclusion
Turbocharger cartridge repair is a complex but quite manageable task for someone with basic car maintenance skills. Proper diagnostics, quality spare parts, and following repair technology will allow restoring turbocharger functionality and save significant money on replacing the entire unit.
Remember that prevention is always better and cheaper than repair. Regular vehicle maintenance and attention to the first signs of turbocharger problems will help avoid the need for major repairs and extend your car’s service life.
However, if you’re unsure about your abilities or the problem seems too complex, it’s better to trust turbocharger repair to professionals. The cost of specialist services will still be lower than buying a new turbocharger