
Connecting the dishwasher is a task that may seem complicated for many homeowners. However, by following clear instructions and having the necessary tools, installing a dishwasher becomes quite an accessible process that can be done independently. In this article, we will examine all important aspects of how to connect a dishwasher correctly and safely so that it serves you long and reliably. From choosing the optimal location to setting up all communications – we will guide you step by step through the entire installation process.
Choosing the Optimal Location for Dishwasher Installation
Before starting the dishwasher connection, you need to choose the right location for its placement. The optimal location should meet several important criteria:
First, the dishwasher should be located near the water supply, drainage, and electrical outlet. This will greatly simplify the process of installing the dishwasher and reduce the length of necessary communications.
Second, make sure that the floor in the chosen location is level and can support the weight of the water-filled machine. An uneven surface can lead to vibration during operation and accelerated equipment wear.
Third, leave enough space around the dishwasher for ventilation and access to communications in case maintenance is needed. The recommended minimum clearance on the sides and back is 5-10 cm.
If you plan to install the dishwasher under a countertop, make sure the niche height matches your model’s dimensions. The standard height of most dishwashers is about 85 cm, but some compact models may be lower.
Preparation of Necessary Tools and Materials
Before starting the dishwasher connection, it’s important to prepare all necessary tools and materials. This will help avoid interruptions in the work process and ensure quality completion of all installation stages.
For successful dishwasher installation you will need:
1. Hoses for connecting to water supply and drainage (often included with the dishwasher)
2. T-connector for connecting to the water supply network
3. Tap or valve for water flow regulation
4. Siphon with outlet for drain hose
5. Sealing gaskets and Teflon tape for sealing connections
6. Different types of screwdrivers (Phillips and flat)
7. Adjustable wrench for tightening connections
8. Level for checking horizontal position of the machine
9. Measuring tape for measuring distances
If your dishwasher doesn’t come with hoses of the required length, you should purchase them in advance according to the distance between the machine and connection points. It’s not recommended to excessively extend the hoses, especially the drain hose, as this can negatively affect the appliance’s efficiency.
Also check if an appropriate grounded electrical outlet is available for connecting the dishwasher. If not, you may need help from a qualified electrician to install a new outlet, as how to connect a dishwasher safely is one of the most important aspects of the entire process.
For more helpful information about household appliances, check out: How to know when to clean your air conditioner
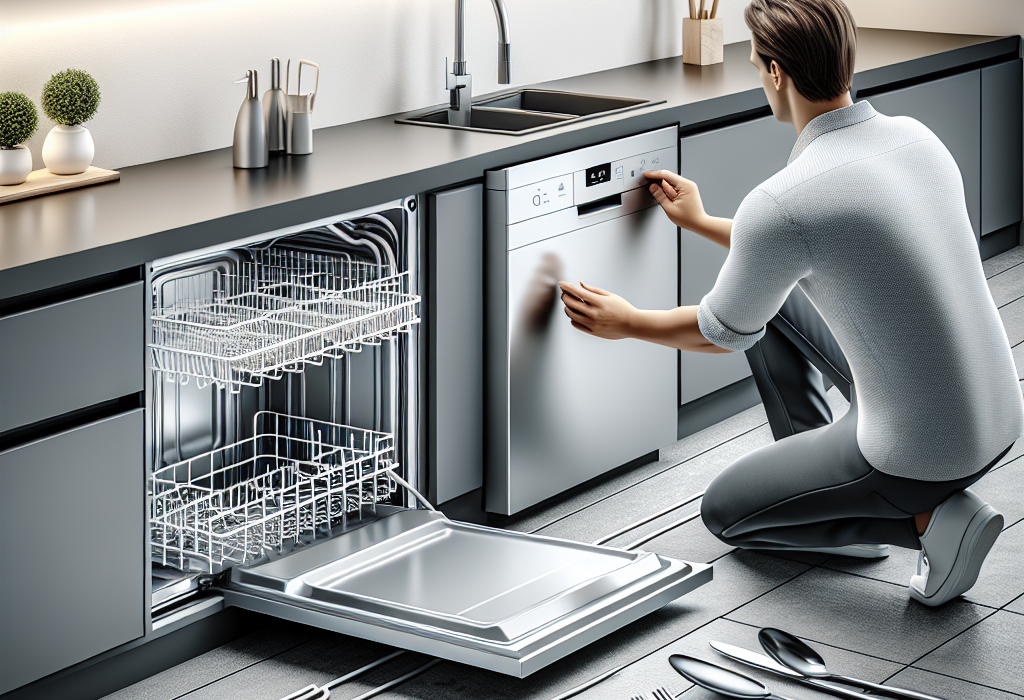
Step-by-step instructions for connecting water, electricity, and sewage
Now that the location is chosen and all tools are ready, we can start the process of **dishwasher connection**. Let’s examine all necessary steps sequentially.
Dishwasher connection order:
1. Unpack the machine and remove all transport fixings
2. Place the dishwasher in the chosen spot and level it horizontally using adjustable feet
3. Connect the inlet hose to the water supply tee using seals
4. Connect the drain hose to the sink siphon or directly to the sewage outlet
5. Connect the power cable to a grounded socket
When connecting to the water supply network, it’s important to use the new inlet hose that usually comes with the unit. Be sure to install a shut-off valve on the connection line so you can quickly shut off water in case of leakage.
Special attention should be paid to the correct positioning of the drain hose. It shouldn’t be pinched or excessively bent. The optimal height for the drain hose end is no more than 80-90 cm from the floor to ensure normal water drainage.
| Utility | Connection Requirements | Possible Problems |
|---|---|---|
| Water Supply | Pressure: 0.5-10 bar, temperature: up to 60°C | Leakage, insufficient pressure |
| Sewage | Pipe diameter: minimum 40 mm | Clogging, poor water drainage |
| Electricity | Voltage: 220-240V, grounding | Voltage fluctuations, lack of grounding |
Checking proper operation and troubleshooting possible malfunctions
After dishwasher installation, it’s necessary to conduct a test run to ensure all connections are sealed and the appliance functions properly.
To check if the dishwasher is working correctly, follow these steps:
1. Open the water tap and check all connections for leaks
2. Turn on the dishwasher and run the shortest program without dishes
3. Make sure water fills and drains normally
4. Monitor the machine’s operation until the program ends
5. Check for water on the floor after the cycle completion
If problems are detected during testing, don’t panic. Most issues can be fixed independently. For example, if the dishwasher isn’t filling with water, check if the water supply valve is open and the inlet hose isn’t pinched.
If leaks are found at hose connections, tighten the connections or replace the sealing gaskets. If the machine isn’t draining water, ensure the drain hose is properly positioned and has no kinks.
If you encounter problems you can’t solve yourself, it’s better to contact a specialist. Incorrect dishwasher connection can lead to damage and warranty loss.
Conclusion
How to connect a dishwasher independently is a task any homeowner can handle with basic tool skills and following all recommendations. Proper dishwasher installation will ensure its long and trouble-free operation, preserve manufacturer warranty, and protect your home from possible leaks or flooding.
Following the steps and recommendations above, you can safely perform dishwasher connection and enjoy the convenience this useful household appliance provides. Regularly check the condition of connections and hoses, especially during the first weeks of operation, to avoid any unforeseen situations.
Remember that in case of complex problems, it’s always worth contacting professionals. The cost of a professional dishwasher installation service is much lower than repairing a flooded kitchen or replacing an appliance damaged due to improper installation.


